

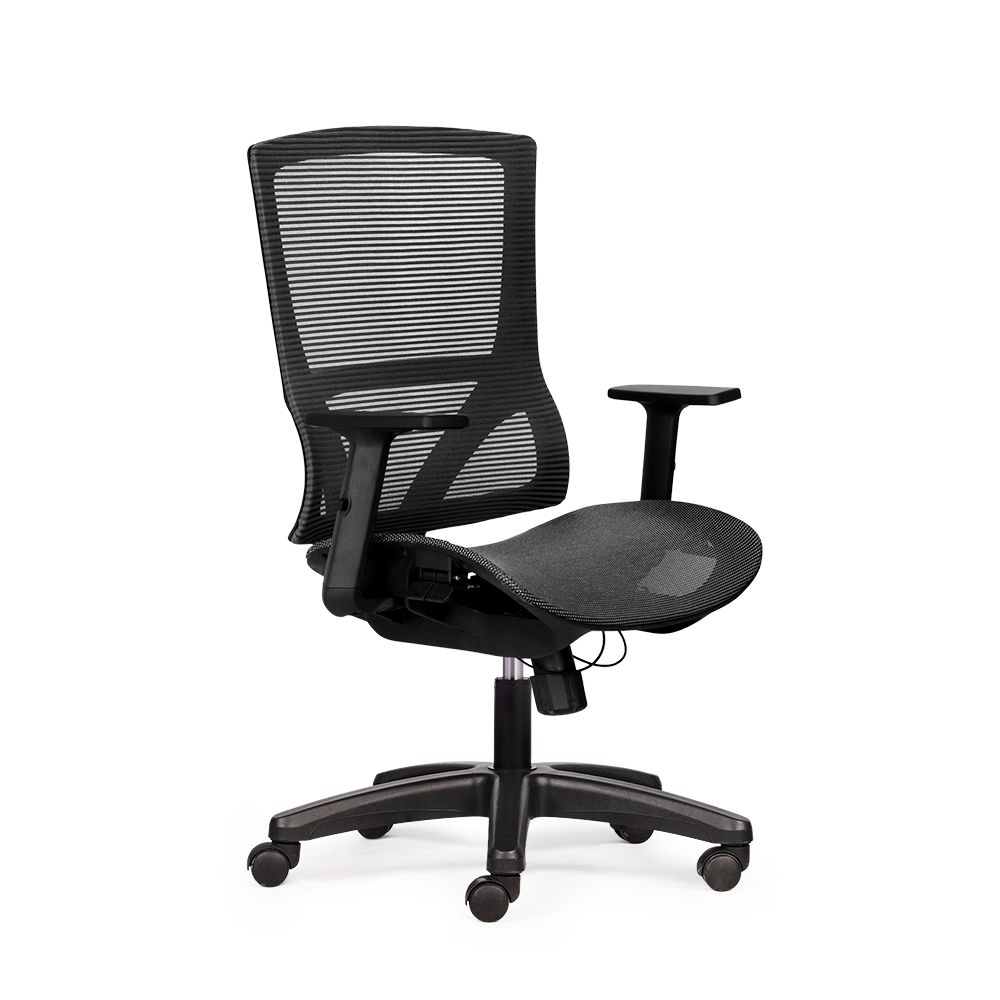
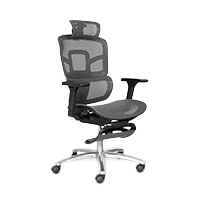



Easily assemble your office swivel chair by avoiding these 7 common mistakes.
Why is the chair misaligned or wobbly after assembly?
If the chair tilts to one side, the backrest wobbles, or the seat feels unstable, it often indicates that the office swivel chair was not assembled correctly. Before assuming the product is defective, please check the following:
- Screws not tightened evenly: If one side is tightened before the others are threaded, the seat pan or backrest can easily become misaligned. Insert all screws into the holes, turn them a few times by hand, and then tighten them in a crisscross pattern.
- Backrest installed with misaligned connection points: Mounting plates or backrest support bars are typically designed for installation in a specific orientation. If the mounting holes are misaligned, the part is installed facing the wrong way, or the fit is not flush, the backrest may vibrate and make noise when the user leans against it.
- Reversed controller installation: The underside of the seat pan usually bears the word "Front" or an arrow. If installed backwards, the lever may fail to make proper contact with the gas lift piston, and the recline mechanism will operate in the wrong direction.
- The seat base is not properly seated on the gas lift cylinder: The cylinder must be inserted straight into the center hole of the base. If it is tilted, obstructed by the protective cover, or not fully seated, the chair will be unstable. When assembling an office swivel chair, do not strike the gas lift cylinder directly with a metal hammer.

After checking the aforementioned causes, place the chair on a level floor and observe it from various angles. If the chair still wobbles or is uneven, disassemble the main body to re-examine the seat base, backrest, and mounting points.
Common errors during the installation of individual components
The process of handling individual components can easily lead to errors if careful attention is not paid. Below are the most common mistakes to avoid when assembling an office swivel chair:
- Caster not fully seated in the chair base socket: The 50mm plastic caster requires sufficient perpendicular force to ensure the metal retaining clip snaps completely into the socket. If the caster is not fully seated, the chair will be unstable, and the caster stem is highly likely to break under heavy loads.
- Incorrect installation of the gas lift cylinder: The cylinder consists of a larger end that attaches to the chair base and a smaller piston rod that connects to the seat mechanism. If the cylinder is installed upside down during assembly, the height adjustment function will be completely disabled.
- Left and right armrests swapped: Armrests are typically designed with an angled profile to suit the seating position (marked L/R). Installing them in reverse not only detracts from the chair's aesthetics but also forces an awkward arm position, leading to shoulder and neck strain.
- Seat mechanism orientation: The control mechanism always features a "FRONT" arrow indicating the direction facing the front of the seat cushion. Many people overlook this marking when assembling office swivel chairs, resulting in the height adjustment lever being tucked underneath or the backrest recline function operating in reverse—creating a dangerous situation.
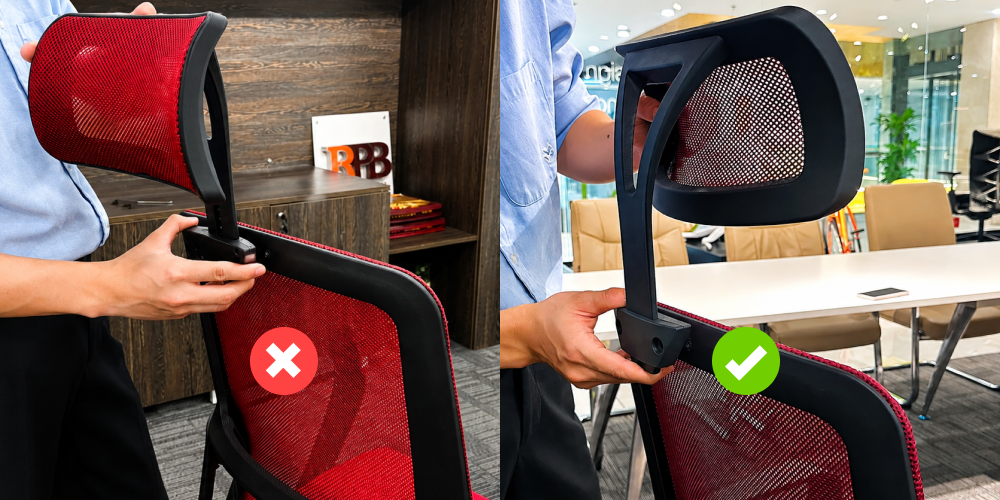
- Incorrect headrest orientation: The headrest features an ergonomic curve designed to cradle the back of the neck. Installing it backwards causes the support point to protrude and press directly against the crown of the head or the neck, negating its intended ergonomic benefits.
How to assemble an office swivel chair while minimizing errors
Instead of assembling parts based on guesswork, users should complete the assembly in sub-assemblies and check their work after each step. A clear process minimizes the need for repeated disassembly and reassembly, while also preventing scratches or damaged threads. When looking for a stylish office swivel chair with the latest functional features, users should prioritize models with a design that facilitates easy assembly.
Sort the components before starting.
Open the box on a clean, flat surface and lay down a piece of cardboard or a soft cloth to protect the chair's finish. Separate the parts: star base, casters, gas lift, cover sleeve, seat pan, backrest, armrests, headrest, and screws.
Compare the quantity of components against the included instructions. Some screws share the same diameter but differ in length, so do not mix them up. If any parts are missing or found to be cracked, bent, or dented, stop assembly and contact the supplier.
Read the markings on the front and back of the seat pan.
The underside of the cushion and the control unit typically feature the words "Front" or "Back," or an arrow symbol. The front edge of the seat is usually more rounded, while the rear section has mounting points that connect to the backrest.
When assembling an office swivel chair, determining the correct orientation at this stage ensures that the lift mechanism, armrests, and backrest are positioned correctly. This also prevents the need to disassemble the entire chair unit after it is nearly finished.
Thread the screws in by hand before tightening them.
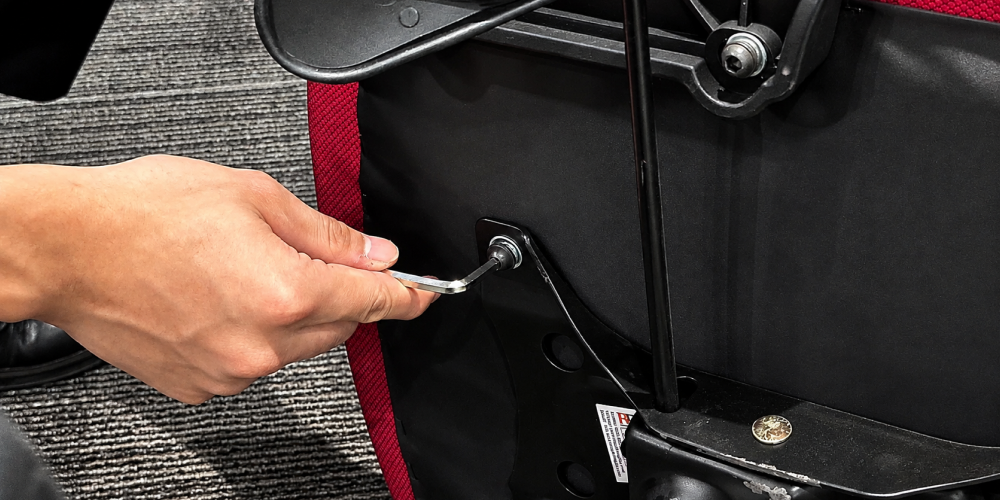
Insert each screw into the threads and turn it by hand for two to three rotations. This helps verify that the screw is the correct size and properly aligned, and ensures it is not cross-threading. Only use a hex key or tightening tool once all the holes are properly aligned.
Tighten the screws in a symmetrical pattern. Partially tighten the first screw, move to the opposite position, and then proceed to tighten the remaining ones. Do not overtighten, as this could crack the plastic frame or damage the metal threads.
Complete each sub-assembly before assembling the chair.
The process of assembling an office swivel chair can be divided into three main stages:
- The base assembly consists of the star base, casters, gas lift, and telescopic cover.
- The main body assembly consists of the seat, control unit, and armrests..
- The back assembly consists of the backrest and headrest..
Once the assemblies are secure, place the seat body vertically onto the top of the fork. You can sit gently on it to allow the two parts to fit together; there is no need to use a hammer or hard object to drive them together.
Check movement after each stage.
After installing the casters, try spinning each one to check for smooth movement. Once the backrest is assembled, manually check for any wobbling. After mounting the seat body onto the gas lift, test the height adjustment lever, recline mechanism, and locking latch. Step-by-step testing makes it easier to pinpoint faults; waiting until the entire chair is assembled before testing makes it difficult to identify exactly which part was installed incorrectly.
How to fix a chair that won't adjust in height or recline
After assembling an office swivel chair, the two most common issues are the inability to adjust the height and the inability to recline the backrest. Users should check the following points in order before deciding to disassemble the product.
Determine whether the recline locking mechanism is engaged or disengaged.
Many chair models use a single lever for both height adjustment and the recline lock function. Users may operate the lever up and down correctly but fail to pull it outward or push it inward to toggle the lock status; please observe the markings on the control lever. Once unlocked, lean back using moderate pressure. Some models only allow locking in the upright position, so do not attempt to lock the chair at a reclined angle if the product does not support that feature.
Adjust tilt tension based on user weight.
The round knob located beneath the seat is typically used to adjust the tension of the reclining mechanism. If tightened too much, lighter individuals may find the chair refuses to recline at all; if too loose, the backrest may tilt backward abruptly. Turn the knob in small increments and test the seat after each adjustment. Continue fine-tuning until the backrest moves in sync with your body while still providing stable support.
Check if the control lever makes proper contact with the fork.
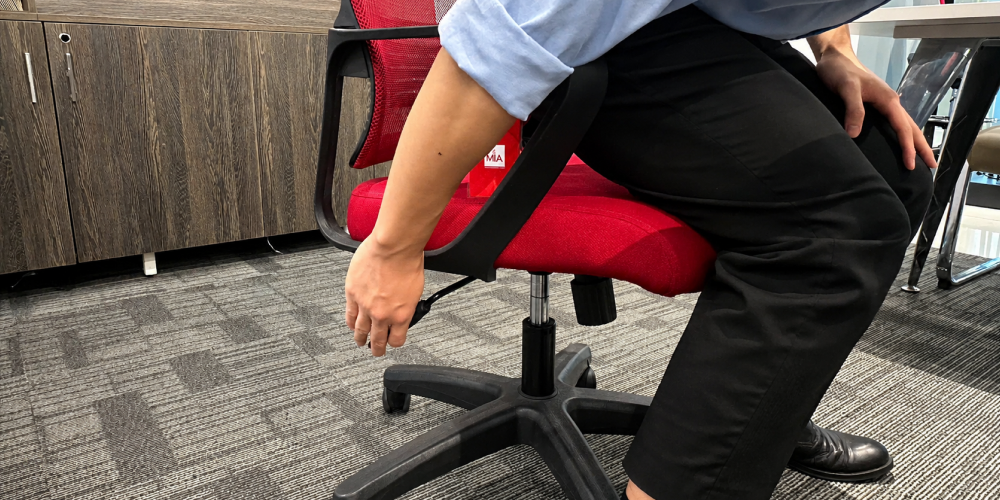
To adjust the height, operate the control located at the top of the lift column. If the control unit is installed upside down, misaligned, or not fully seated on the column, the lever will not generate the necessary force. To raise the seat, stand up and pull the lever; to lower it, sit on the seat and pull the lever. If the mechanism fails to operate, check the orientation of the control unit and its contact point with the lift column.Kiểm tra bộ điều khiển có bị lắp lệch
If the control mechanism is not positioned flush against the seat base or is tightened unevenly, the adjustment lever, recline shaft, and piston mount may become misaligned. To correct this, turn the chair upside down on a protective mat, loosen the screws evenly, realign the mechanism properly, and then tighten the screws in a crisscross pattern.
If you need to reassemble the office swivel chair, do not lift or pull the product by the armrests or headrest. These parts are not designed to bear the full weight of the chair.
Identifying when components need replacement
If the seat mechanism lowers on its own without the lever being pulled, the control unit is cracked, the lever is broken, or the reclining mechanism emits a loud metallic noise, the user should not attempt further repairs.
Do not drill, weld, strike, or disassemble the air shock housing, as this component is pressurized. If the product is still under warranty, leave it in its current condition, record a video of the issue, and contact the supplier for inspection.
Conclusion
After assembling the office swivel chair, carefully inspect the seat base orientation, the fit of the gas lift, and the functionality of the control mechanism. Discontinue use if the chair continues to wobble, stick, or make unusual noises after assembly. Contact The Mia for technical guidance, component inspection, and proper warranty support.
Other news

- Business Registration Number: 0305955903, date of Issue: September 3, 2008
- Issued by: Department of Planning and Investment of Ho Chi Minh City
- Legal Representative: Nguyễn Thành Long

