


How to assemble an ergonomic chair at home in detail, easiest way 2026
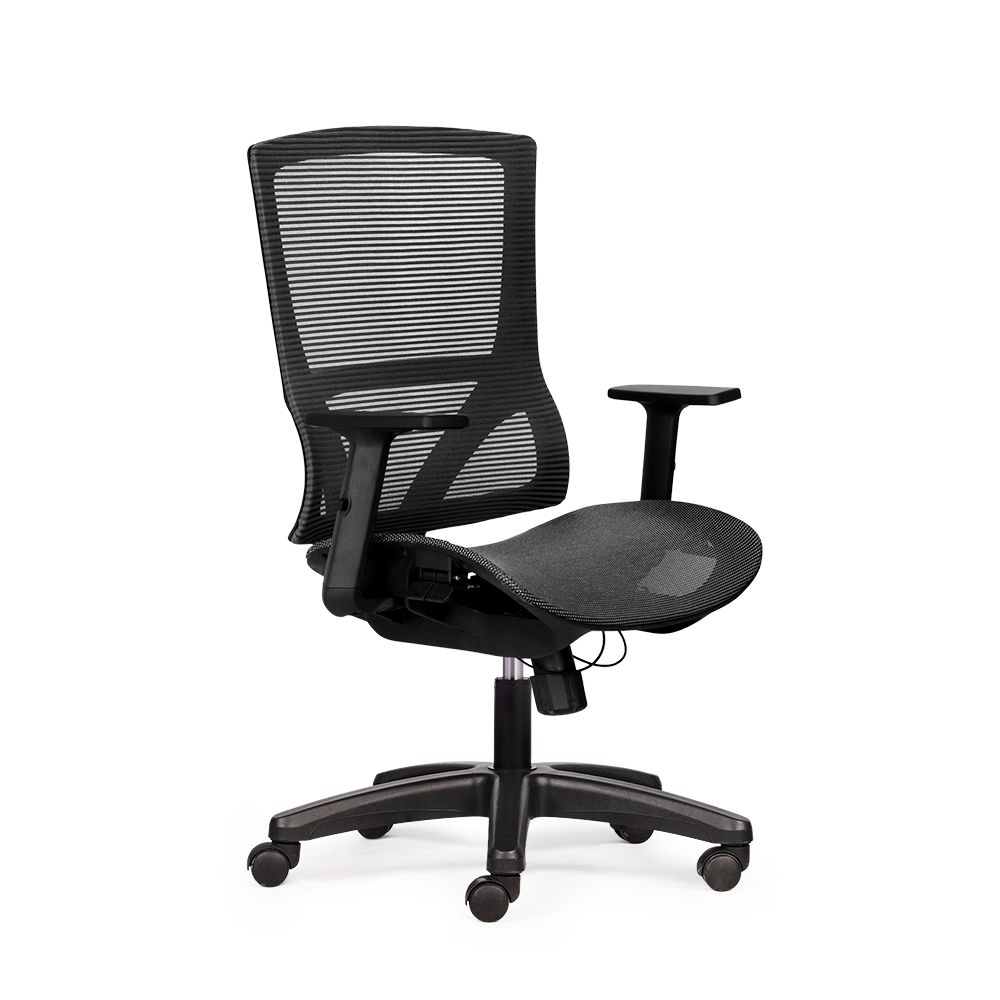
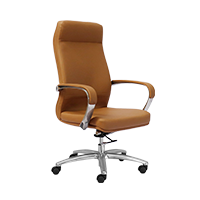
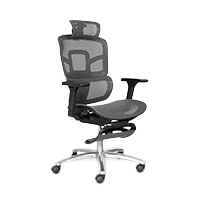
Main parts of an ergonomic chair
To ensure a smooth installation process, you need to understand the product's structure to classify components most accurately. A standard ergonomic chair usually includes the following core parts:
-
Chair base and smooth-moving wheels: This part is typically a 5-star base made of aluminum alloy or high-strength engineering plastic, supporting the entire body weight.
-
Smooth-operating hydraulic lift cylinder: The piston is a crucial component that helps change the seat height to perfectly match the user's physique and daily desk height.
-
Seat plate with integrated central control: This is the "brain" of the device, allowing you to recline, lock positions, and adjust the backrest resistance as you wish.
-
Seat cushion with waterfall edge design: The seat plate is usually covered with mesh or solid foam to distribute pressure evenly across the hip area, preventing leg numbness during long periods of sitting.
-
Backrest with a curved frame: This part follows the spine's natural curve, supporting the lumbar area and relieving pressure on vertebrae during daily data processing.
-
Multi-point adjustable headrest and armrests: These supporting details help stabilize the cervical spine and support the arms in the most natural position to eliminate neck and shoulder fatigue during work.

>>> See now: Top ergonomic chairs worth buying in 2026
Preparation before assembling an ergonomic chair
Thorough preparation helps you save significant time and effort during the process of completing your home health-support equipment. Mastering how to assemble an ergonomic chair from the very first steps is the secret to ensuring smooth operation and absolute daily safety for your musculoskeletal system:
-
Detailed inventory of components in the box: Compare all parts such as the seat plate, piston, wheels, and screws with the manufacturer's list to ensure no loss or damage when opening the box.
-
Arrange a spacious and well-ventilated assembly space: Prioritize areas with a flat floor and good natural light to make turning or assembling accessories easier and more professional.
-
Prepare a set of specialized support tools: A multi-purpose screwdriver or hex key matching the included screw sizes helps you tighten connections accurately without scratching the plastic frame surface.
-
Study the technical diagram from the supplier: Understanding the connection sequence between parts helps you clearly define the most accurate way to assemble an ergonomic chair, preventing technical errors that affect long-term durability.
-
Lay a mat or cardboard on the floor: This smart protection method prevents scratching both the floor and the chair's premium plastic parts during assembly.
-
Sort screws by usage location: Organization helps you avoid confusion between different screw lengths, making the process of securing the headrest or armrests faster and more professional.
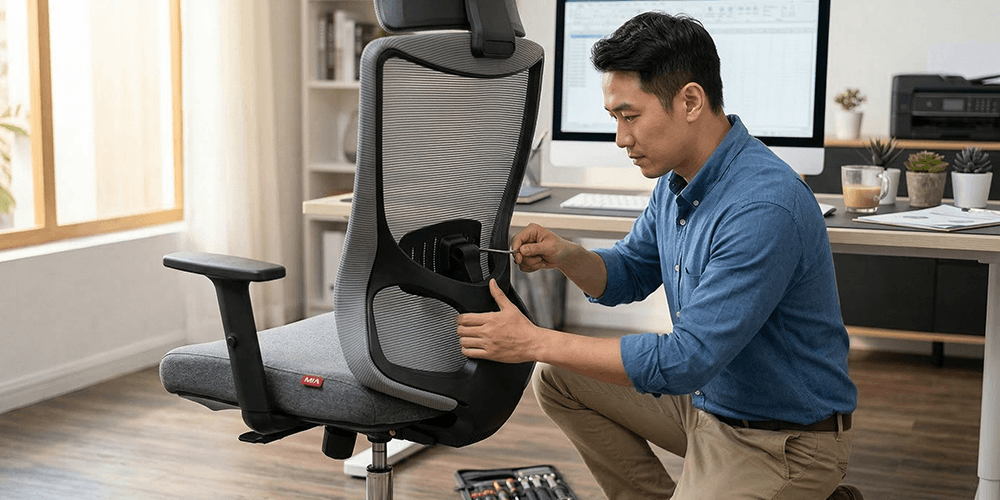
Step-by-step guide to assembling an ergonomic chair at home
Mastering the correct assembly process helps you quickly achieve an ideal workspace and ensure the device's daily durability. A logical method helps users control every component connection to maintain absolute safety throughout professional use.
Step 1: Attach wheels to the chair base
Use hand force to press each wheel firmly into the round holes under the chair base so the metal joint fits completely inside. The correct way to assemble an ergonomic chair requires each wheel to move smoothly with no signs of looseness after completion. Check the base's balance by placing the component on a flat floor to prevent instability that causes discomfort.
Step 2: Install the hydraulic lift cylinder
Place the large end of the piston into the center hole of the base so the hydraulic lift cylinder is perfectly perpendicular to the flat floor. How to assemble an ergonomic chair requires you to position the cylinder upright to ensure the seat height adjustment mechanism operates stably. Never remove the plastic protective cap from the piston head before placing the seat plate to ensure the safety of the pneumatic system.
Step 3: Attach the seat plate to the underside of the seat cushion
Identify the front of the seat cushion, then place the seat plate so the screw holes align perfectly. Professional how to assemble an ergonomic chair requires tightening screws in an X-pattern to distribute pressure evenly and avoid warping the plastic frame. Use the included hex key to securely fasten each point, but avoid overtightening to prevent damaging the screw threads.
Step 4: Attach the seat cushion onto the chair cylinder
Lift the seat cushion with the attached seat plate and slowly place the center hole onto the hydraulic piston head already positioned on the base. The most effective way to assemble an ergonomic chair is to gently press down on the seat cushion with your hand to help the joint grip firmly and stabilize the center of gravity. Test sit to check if the system shakes or makes strange noises after completing this assembly step.
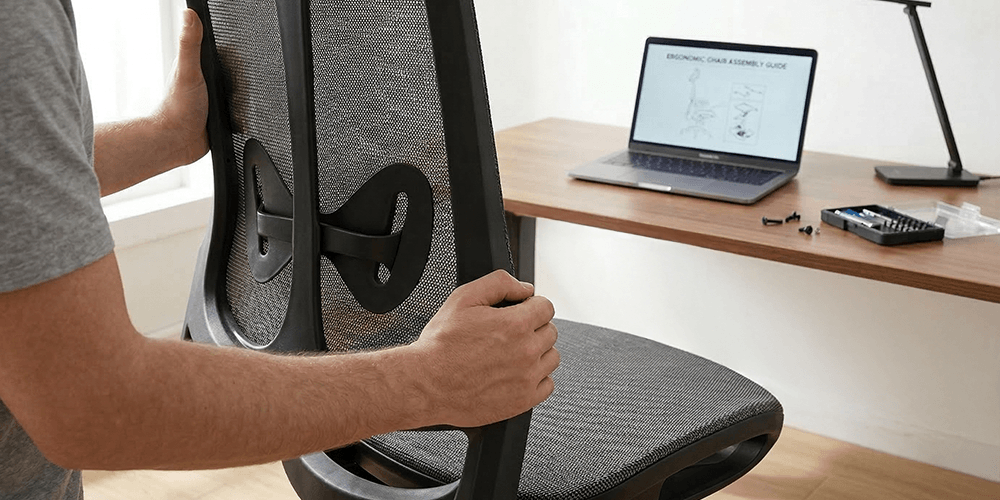
Step 5: Attach the backrest
Insert the backrest frame into the slot behind the seat plate, then use long screws to secure it in place. The curved frame system needs to be adjusted to closely follow the spine's natural curve, helping relieve daily lumbar pressure. Gently shake the backrest after tightening the screws to ensure this part remains sturdy and does not shift during work.
Step 6: Attach the armrests
Identify the left and right armrests according to the manufacturer's markings, then fit the joints correctly into the sides of the plastic seat plate. How to assemble an ergonomic chair requires you to keep both armrests at a balanced height to support the arms in a proper position. Tighten the screw points under the seat to ensure the armrest supports do not wobble during data processing.
Step 7: Attach the headrest
Insert the headrest joint into the top slot of the backrest frame, then use short screws to securely fasten this neck support component. This part needs to have its height adjusted to fully match the cervical spine, promoting good blood circulation and reducing daily neck and shoulder fatigue. Gently rotate the component to check the flexibility of the swivel joint, maximizing comfort when you relax.
>>> See more : Experience in choosing the best ergonomic chair in 2026
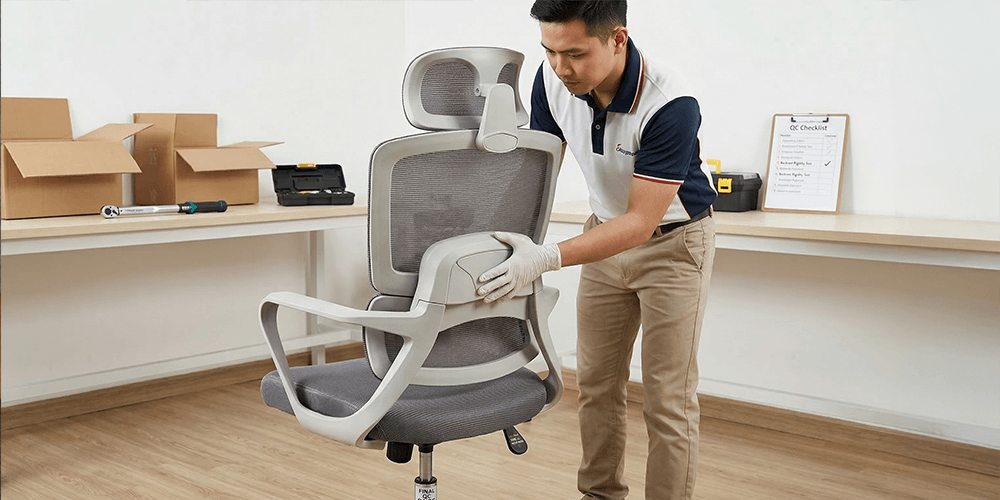
Inspection and adjustment after assembling the chair
The overall review stage after completing the assembly steps is crucial for the device's durability and safety throughout use. Mastering how to assemble an ergonomic chair combined with a strict technical inspection process helps you quickly detect any issues to maintain perfect daily operation:
-
Retighten the entire screw connection system: Use the specialized hex key to check each connection point on the seat plate and backrest to ensure no components are loose after completing home assembly.
-
Test the seat height adjustment function: Operate the hydraulic lever multiple times to check the piston's smoothness, ensuring the lift cylinder makes no strange noises or sticking during professional use.
-
Check the recline mechanism and safety lock: Lean back fully to assess the spring's elasticity and the seat plate's locking ability to protect the spine at all angles daily.
-
Evaluate the mobility of the wheel system: Gently pushing the chair on a flat floor helps you determine if the wheels are properly seated in their joints, avoiding wobbling or floor scratching.
-
Adjust the headrest and armrests to your actual physique: Sit directly on the chair to adjust the support components' heights to perfectly match your cervical spine and elbows, relieving shoulder and neck pressure.
-
Observe the balance of the plastic frame structure: A standard device must have absolute symmetry between the two armrests and the seat cushion to establish a scientifically
Common mistakes when assembling an ergonomic chair
Identifying technical errors early helps protect the device's lifespan and avoid unnecessary spinal injuries during work. The common mistakes below often cause difficulties for users when attempting to assemble an ergonomic chair at home without daily focus:
-
Installing the seat plate backwards relative to the seat cushion: This mistake completely shifts the chair's center of gravity backward, endangering the user and eliminating accurate lumbar support.
-
Uneven screw tightening across connections: This creates pressure imbalances on the plastic frame, leading to severe wobbling or cracking of critical connection points after a short period of daily use.
-
Forgetting the protective cap on the hydraulic cylinder head: Failing to remove this safety part prevents the seat plate lever from contacting the hydraulic piston valve, completely disabling the height adjustment function during work.
-
Using the wrong screw type for each component: Confusing screws of different lengths can damage internal threads or ruin the seat cushion surface if you deliberately follow the wrong assembly sequence.
-
Not checking the stability of the wheel system: Wheels not pressed fully into their joints will tilt the base, scratch wooden floors, and pose a risk of the chair tipping over when you move professionally.
>>> see more :
- Ergonomic chairs under 2 million VND: Top 5 best models of 2026
- Ergonomic chair for 5 million VND: A worthwhile investment in your health.
Tips to assemble an ergonomic chair quickly in 10 minutes
Applying scientific organization tips significantly reduces your operating time while ensuring absolute accuracy for the device. Optimizing the process makes assembling an ergonomic chair easier and more professional than ever daily:
-
Synchronously sort components and screws: Pour all screws into a tray and group them by size corresponding to each part, allowing quick accessory finding in an instant.
-
Use an assembly space at a comfortable height: Placing the seat cushion on a low table helps you clearly see the screw holes under the seat plate, allowing you to assemble the ergonomic chair without bending over for too long.
-
Follow the loose-tightening rule in the initial stage: Only screw in about eighty percent initially to easily adjust component positions before fully locking the connection points, ensuring daily balance.
-
Use a handheld screwdriver if available: This tool helps you quickly drive long screws into the backrest or armrests while maximizing labor savings compared to using a manual hex key.
-
Skim the assembly diagram to master the sequence: Clearly visualizing the steps from the base to the headrest helps you operate smoothly without needing to pause and consult the manual midway.
Frequently asked questions when assembling an ergonomic chair
Answering common questions helps users feel more confident in the process of setting up their home workspace without needing professional technician support. Thoroughly understanding how to assemble an ergonomic chair helps you proactively control product quality and save on daily service costs:
-
Is it necessary to hire a professional to assemble the chair? Most current chair models are designed with intelligent modular assembly, allowing users to easily do it at home with just the hex key tool included in each specialized box.
-
How long does assembly typically take? If you focus on following the guide and apply the correct assembly method, this process usually takes about ten to fifteen minutes per product daily.
-
Does incorrect assembly reduce the chair's lifespan? Intentionally cross-threading screws or installing the seat plate backwards creates uneven pressure on the plastic frame, causing components to wear out quickly and potentially damaging the frame structure daily.
Conclusion
Correctly how to assemble an ergonomic chairis the foundation for fully utilizing spine-protecting features and maintaining the device's durability for many years. Completing each step yourself gives users complete confidence in the sturdiness. Save this guide right away to perform a safe assembly process and boost your work performance professionally!
Other news

- Business Registration Number: 0305955903, date of Issue: September 3, 2008
- Issued by: Department of Planning and Investment of Ho Chi Minh City
- Legal Representative: Nguyễn Thành Long

