

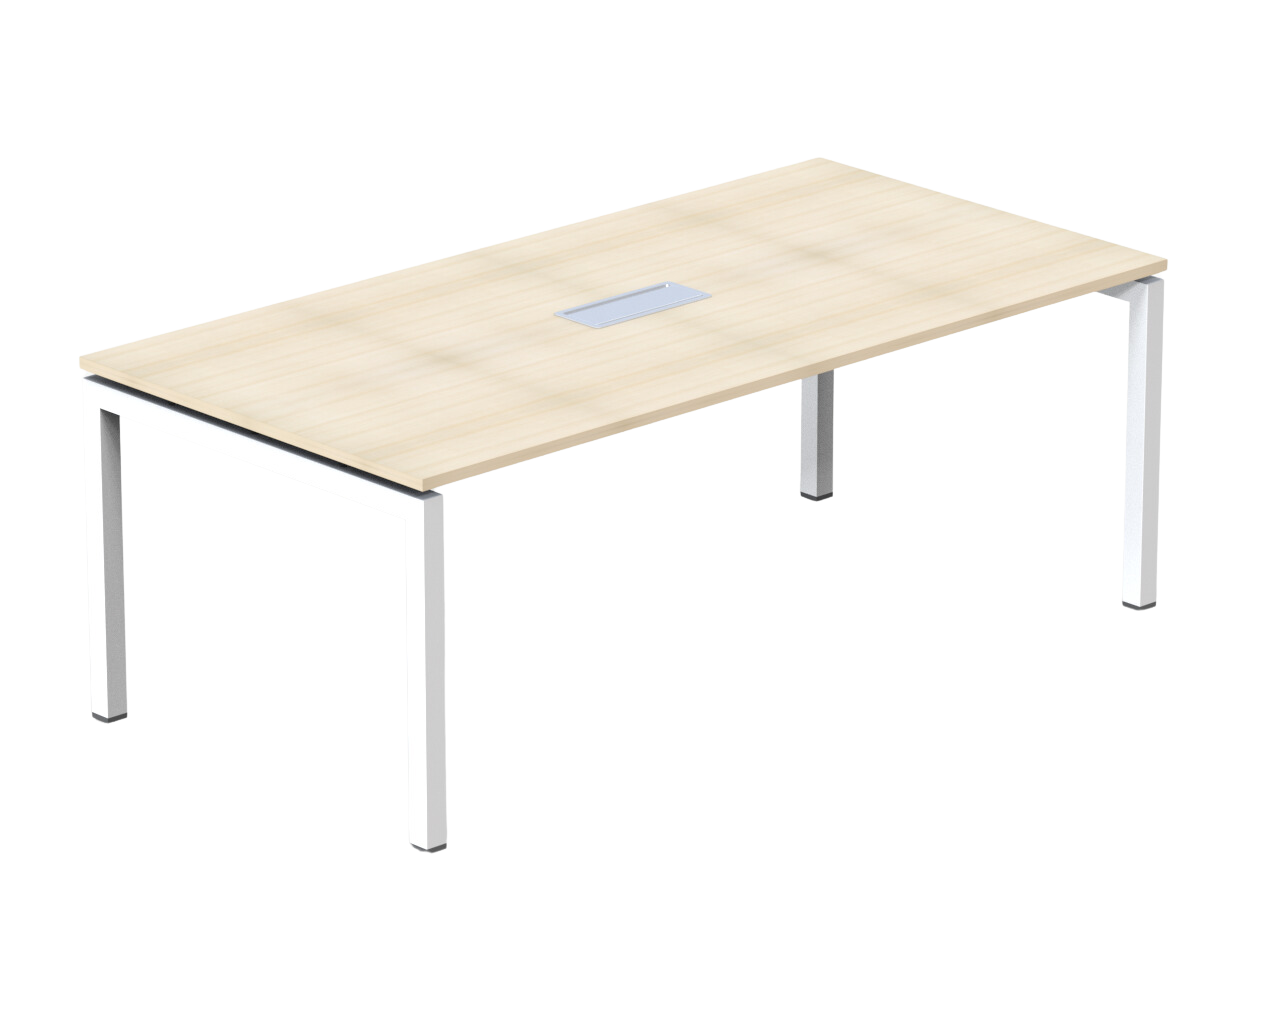
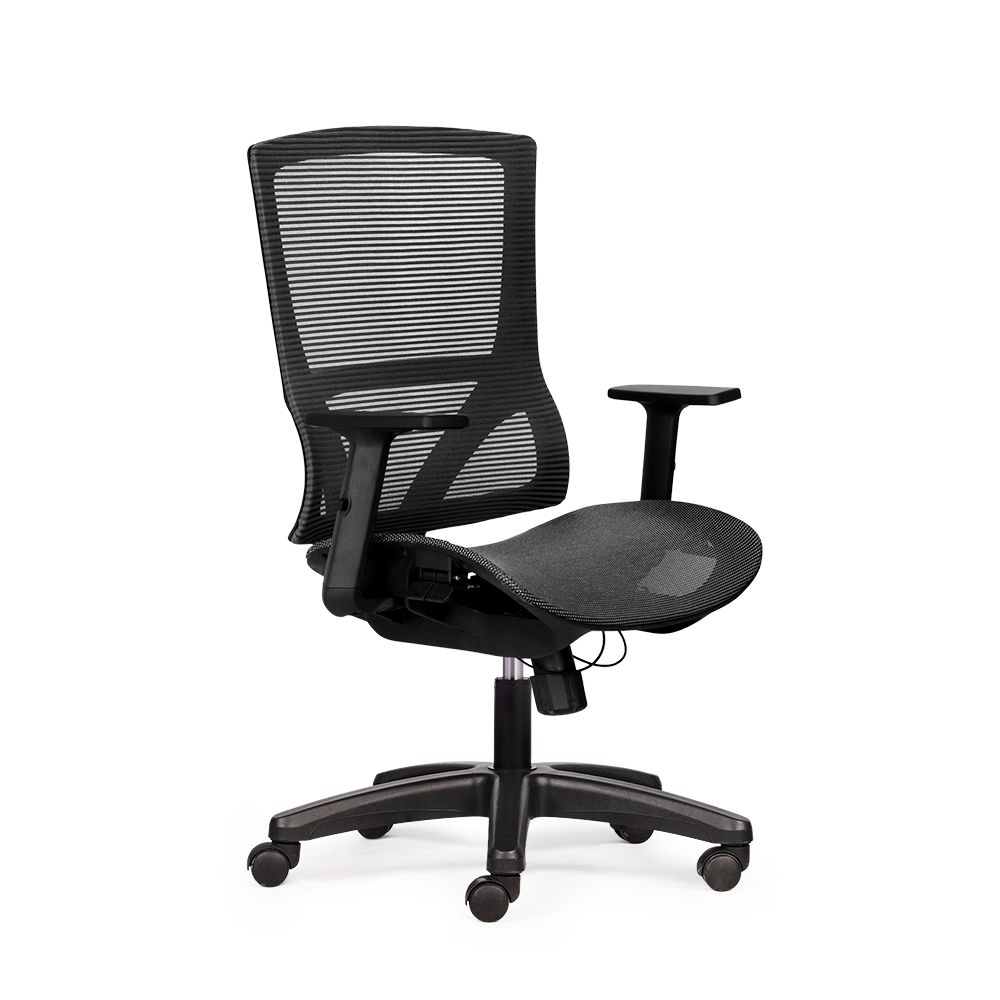

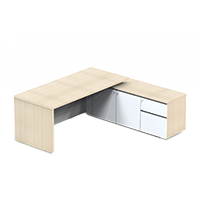

The correct way to assemble an L-shaped work desk properly, stably and aesthetically
Preparation before assembling the L-shaped work desk
A thorough preparation process is the core foundation to ensure the installation proceeds systematically, smoothly and without technical errors:
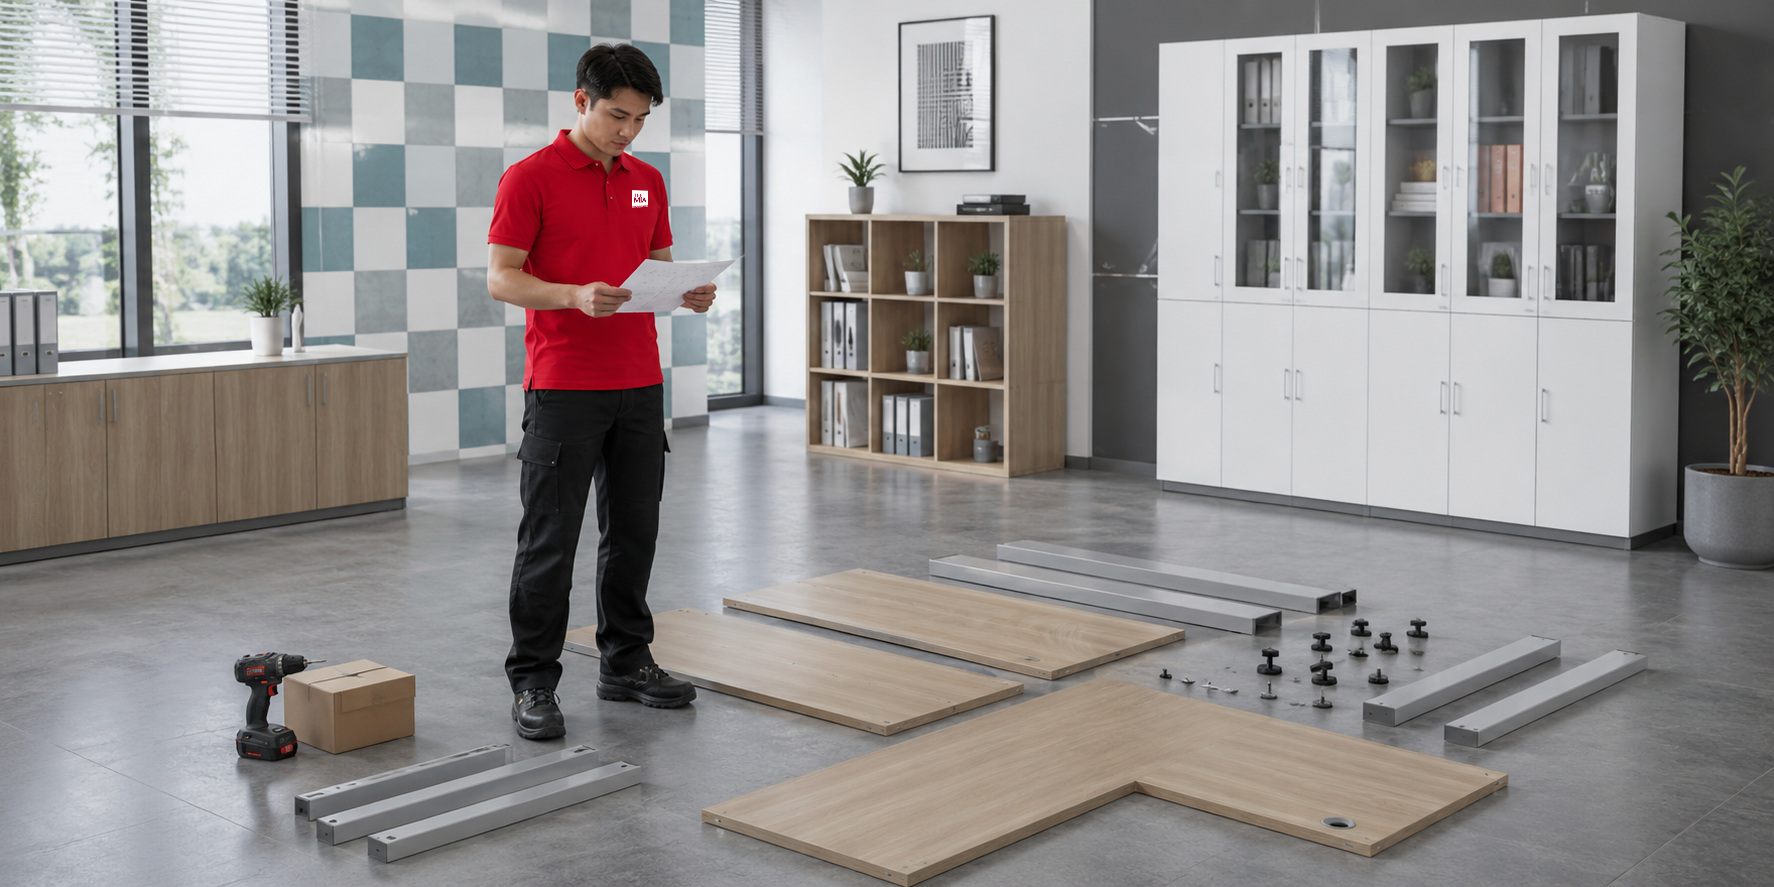
Check the completeness of the tabletop, legs, connecting brackets and accessories
Classify all components according to the manufacturer's packing list. Review the quantity of main MFC tabletop panels, secondary desk panels, beam system, load-bearing steel legs, corner connecting brackets and specialized screw bags to ensure the assembly process is not interrupted.
Determine the L-shape orientation according to the desk placement
The L-shaped curved-edge design has a very high spatial orientation. The enterprise needs to clearly determine whether the secondary curved wing will be on the left or right of the employee's seated position based on operating habits and actual workflow, avoiding reversing the orientation incorrectly after the screws have been fixed.
Re-measure the wall corner area and movement pathway
Conduct an on-site survey of the coordinates of the adjacent wall corner or concrete column edge where the desk will be positioned. Re-measuring the actual technical parameters ensures that the completed L-shaped structure fits perfectly, does not obstruct the general traffic aisle and does not block natural light sources.
Prepare the necessary installation tools
Gather all specialized mechanical tools including: a handheld screwdriver with adjustable torque, a standard hex key set matching the included screws, a tape measure for straightness checking, a spirit level (nivo) for surface flatness measurement and a rubber mallet to assist in adjusting leg frame joints.
See more: [High-end work desks for modern, luxurious and efficient spaces]{.underline}
Step-by-step way to assemble an L-shaped work desk
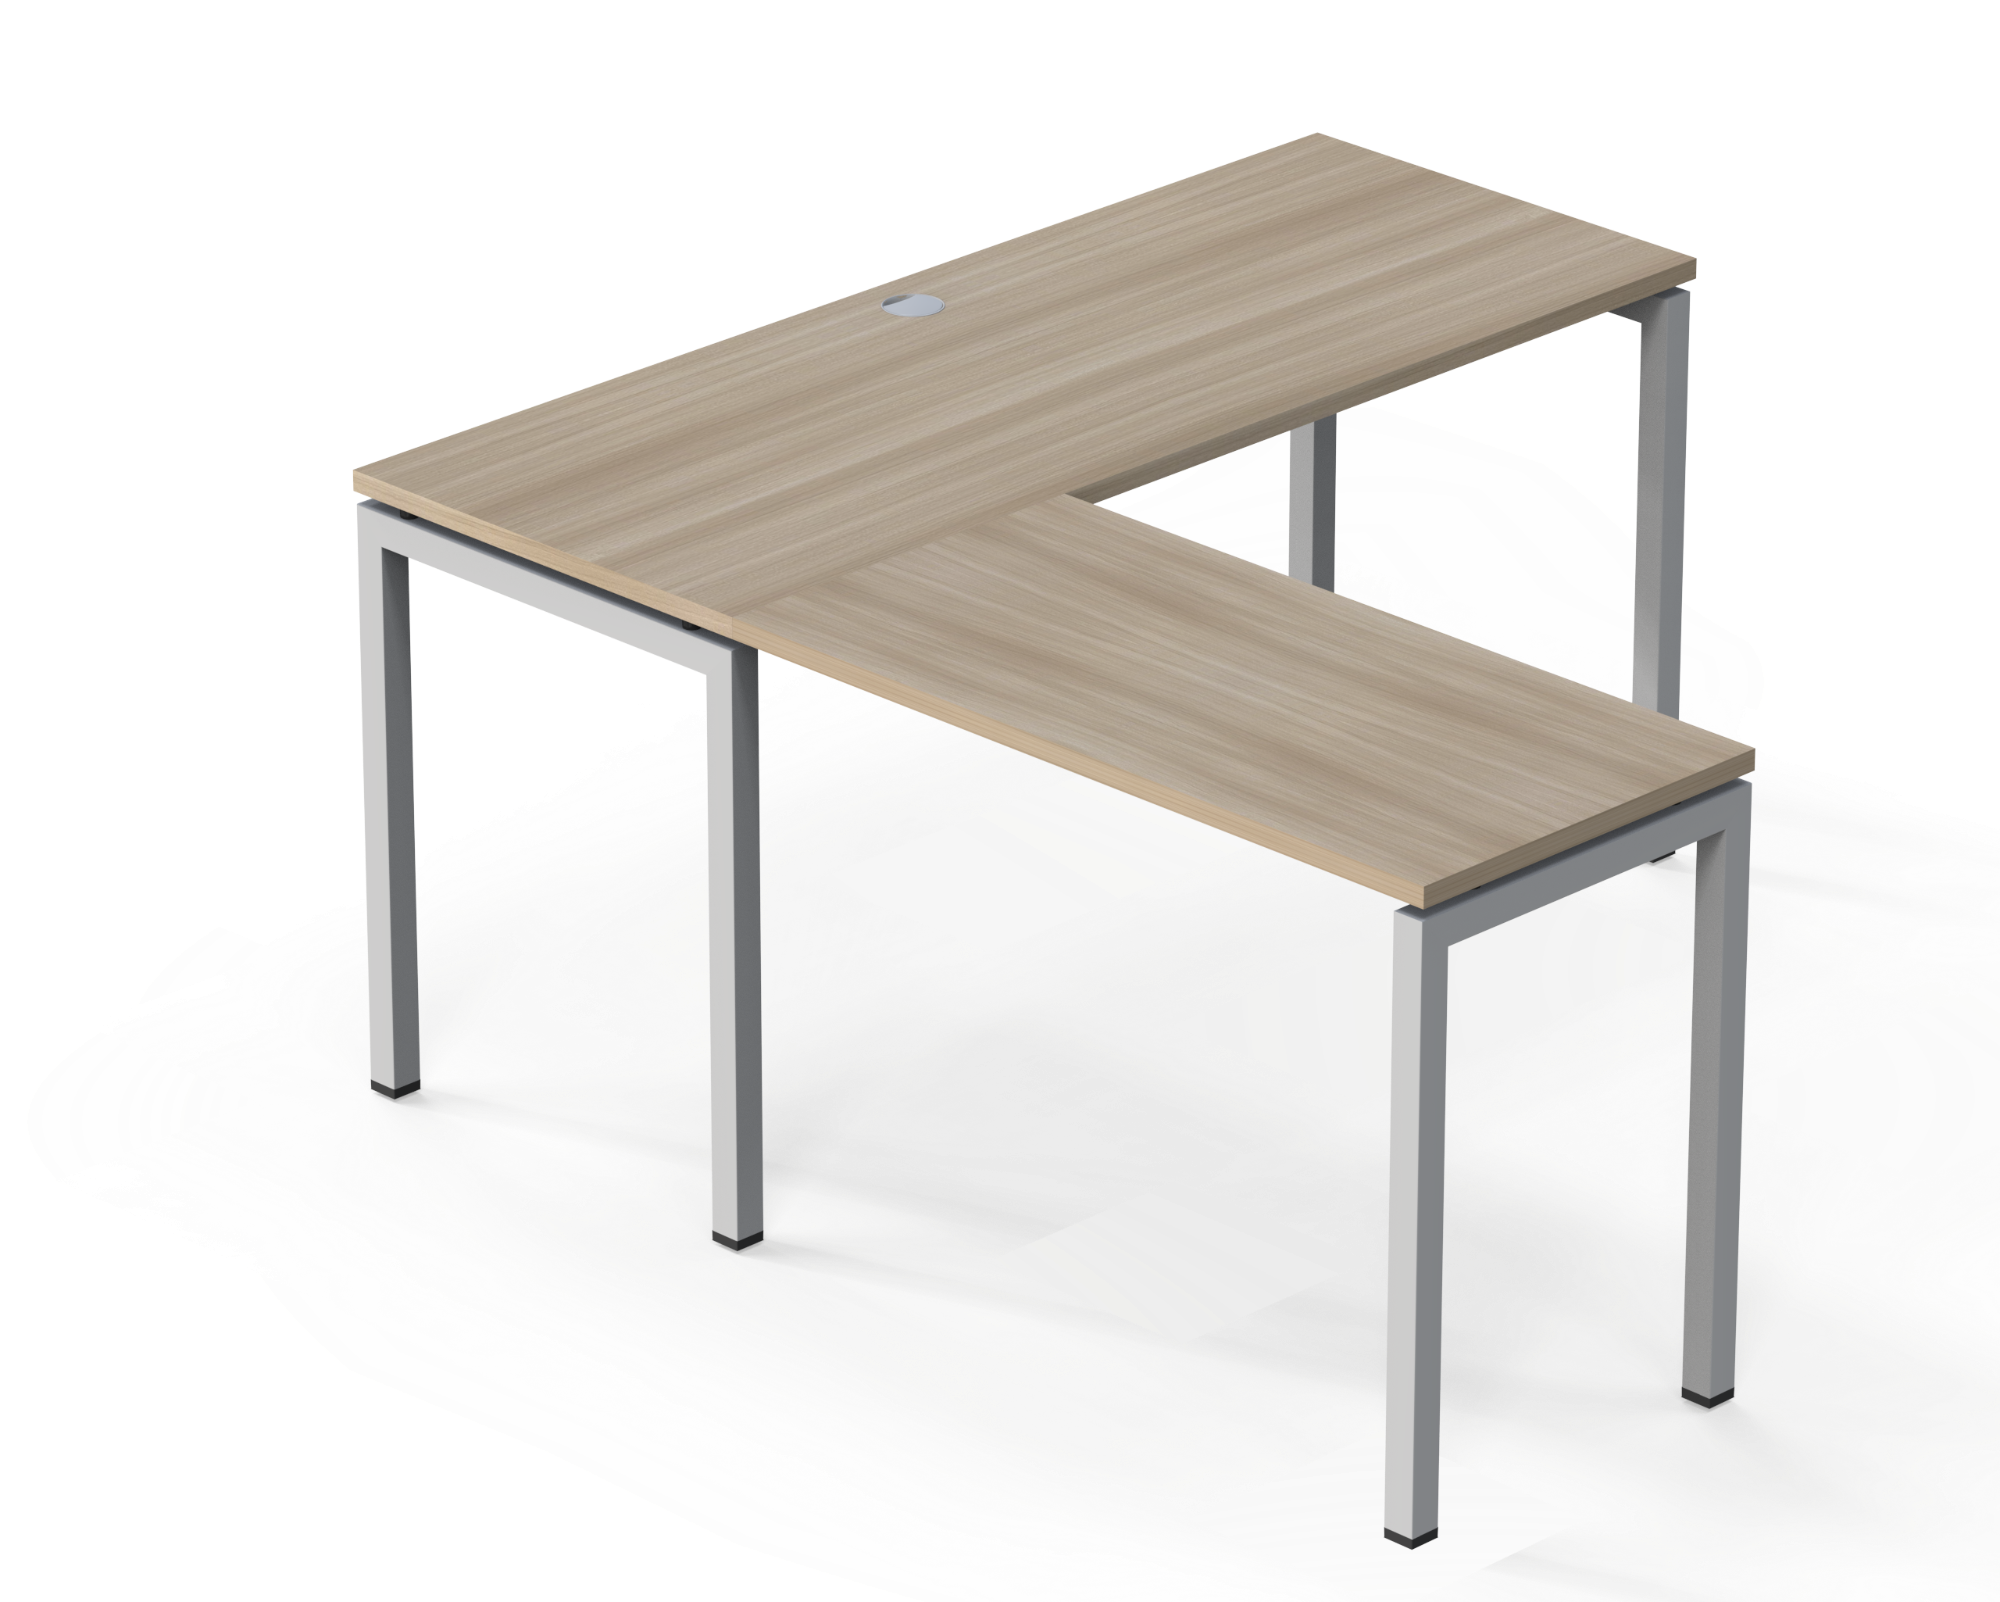
To preserve the geometric structure and sturdiness of the product, the assembly process must strictly comply with regulations. The way to assemble an L-shaped work desk with the following 5 standard steps:
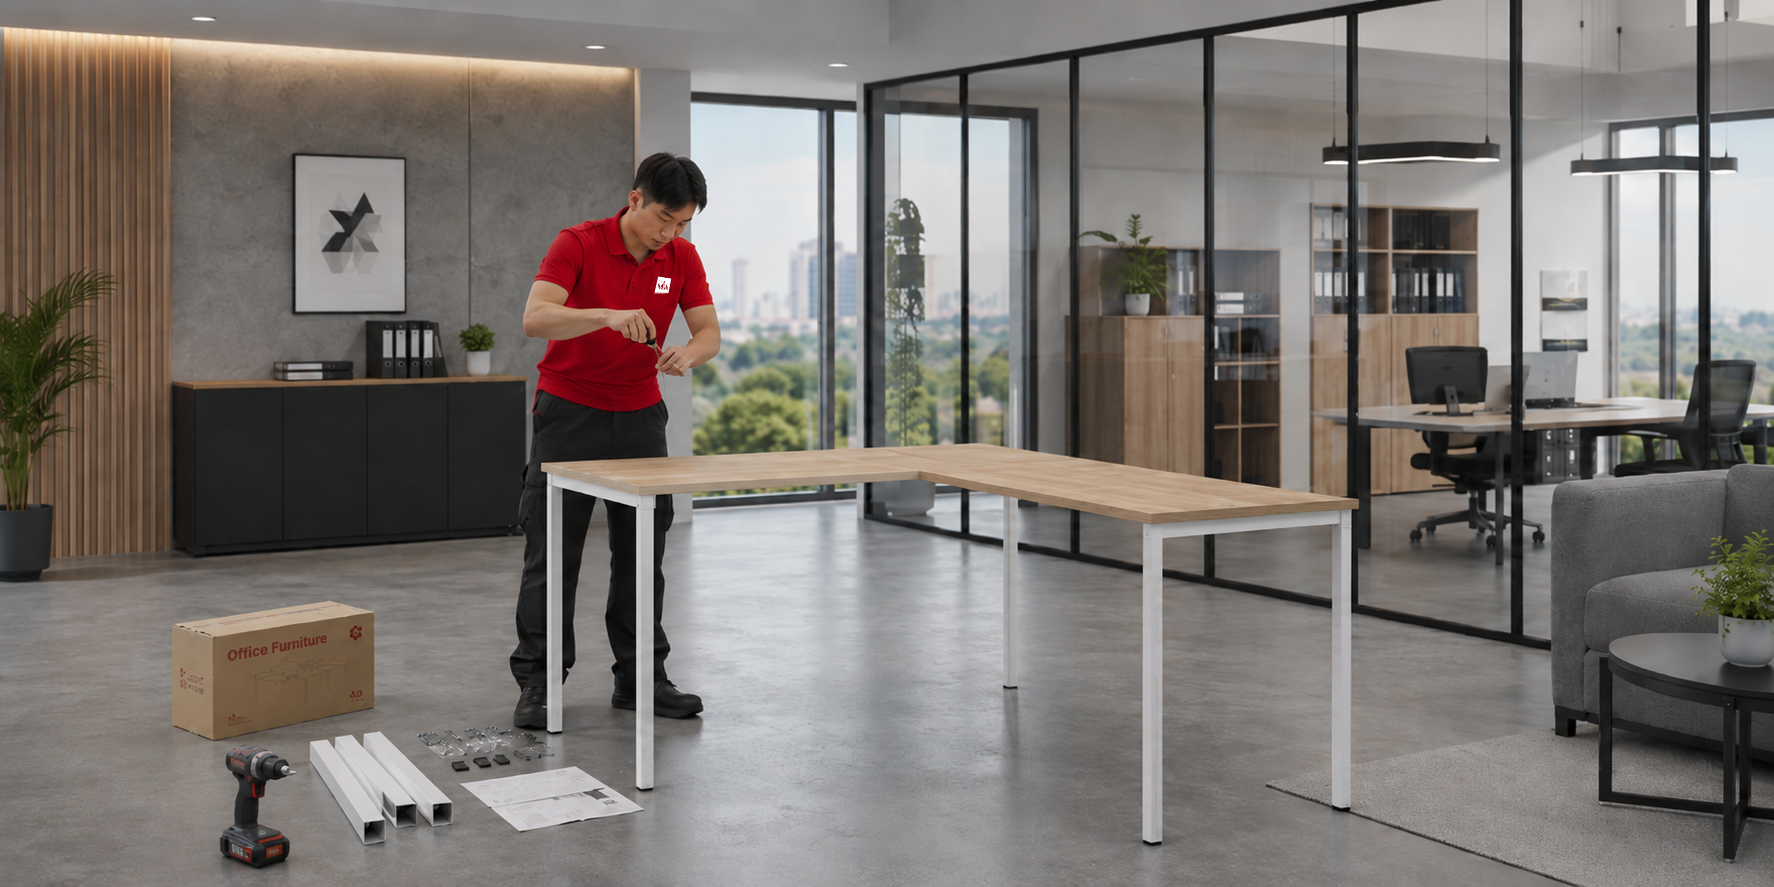
Step 1: Arrange the parts in the correct position
Spread a clean protective mat or tarpaulin on the office floor to avoid scratching the Melamine coating of the wooden tabletop. Place all MFC panels face down and arrange the electrostatic powder-coated steel leg frames according to the positioning diagram in the detailed technical drawing.
Step 2: Assemble the main leg frame and auxiliary leg
Connect the steel leg components (the strong square Square leg system or the elegant curved Ovani leg system) with the central load-bearing beam system using hex screws. Use the sharing leg mechanism at the curved right angle to create a clear space under the desk. At this point, only tighten the screws to a moderate level (about 80%) to hold the frame shape.
Step 3: Fix the main tabletop to the support frame
Place the assembled steel frame under the main tabletop panel. Align so that the pre-drilled holes on the wood perfectly match the support brackets on the steel frame. Use a handheld screwdriver to securely fix the steel frame to the wooden tabletop.
Step 4: Attach the secondary tabletop section to create the L-shape
Join the secondary tabletop panel to the main tabletop according to the correct curved corner direction determined during the preparation phase. Use T-shaped connecting brackets or specialized reinforced steel plates to fasten them tightly to the underside of the two wooden panels, ensuring an absolutely tight, flush joint with no visible gaps.
Step 5: Tighten all screws and check for balance
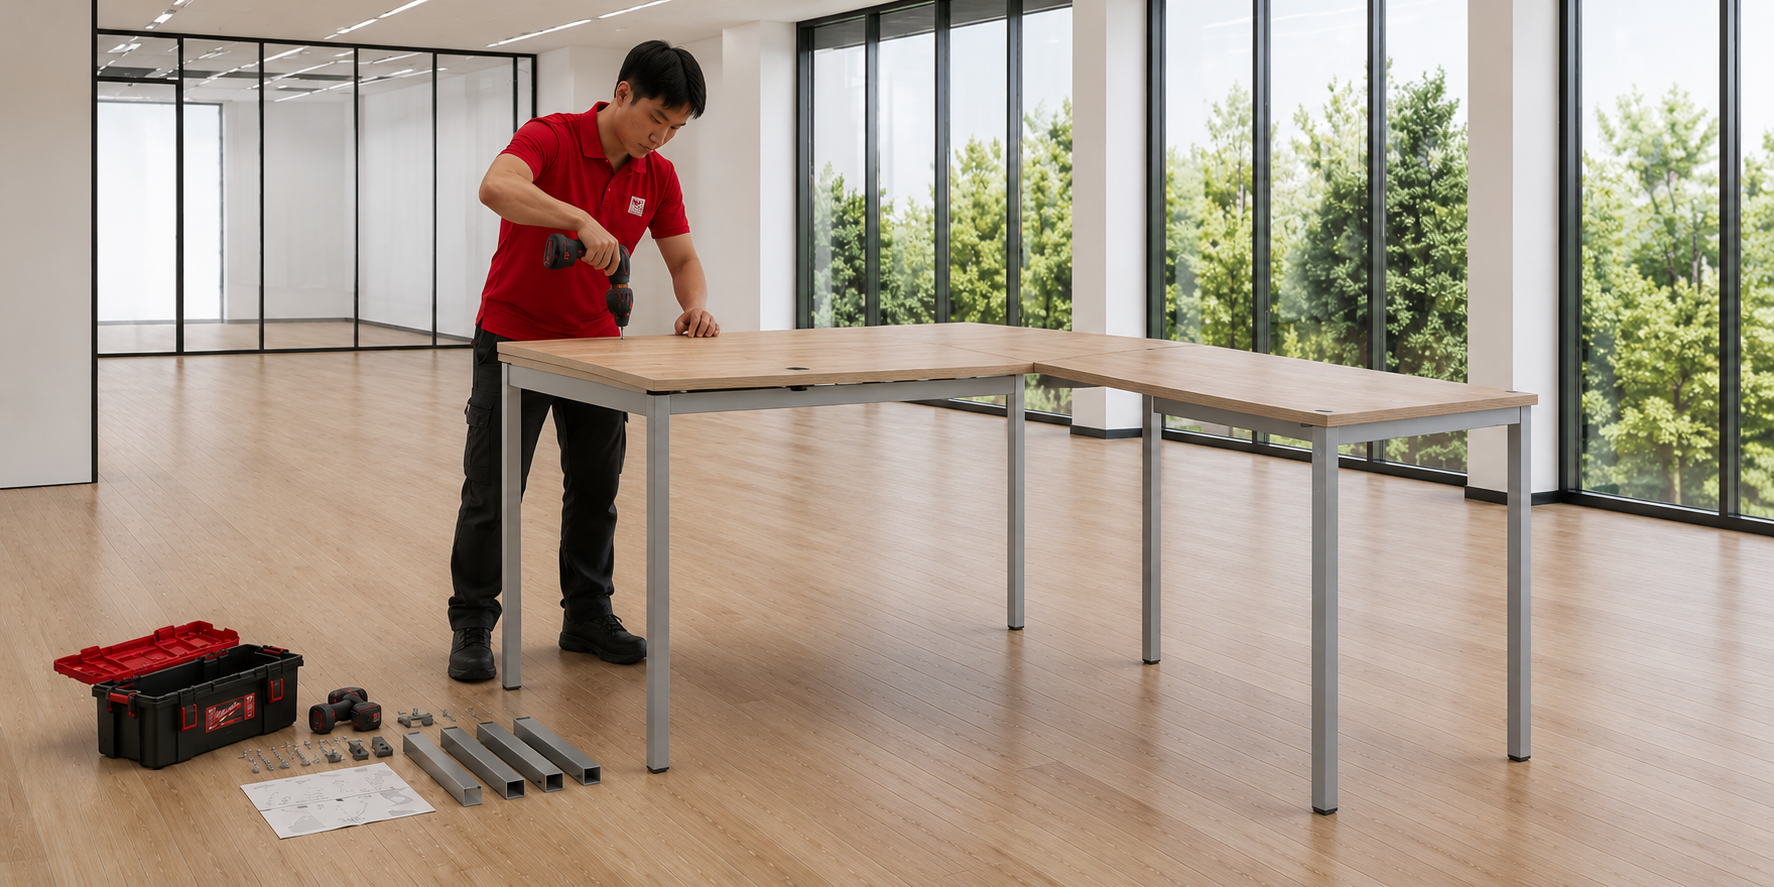
Proceed to fully tighten the entire screw system connecting the leg frame and tabletop. Upright the desk to its standard operating position. Use a spirit level (nivo) to check surface flatness and fine-tune the load-bearing plastic leveling feet under the desk legs to completely eliminate wobbling caused by uneven floors.
Common errors when assembling an L-shaped work desk
Overlooking small technical details during installation can lead to infrastructure conflicts and reduced product lifespan:
-
Installing the desk in the wrong left-right orientation: Failing to determine the auxiliary curved wing's orientation based on the floor plan layout from the start leads to reversed desk wing installation, blocking nearby filing cabinets or narrowing the main traffic aisle.
-
Over-tightening screws causing tabletop misalignment: Using a screwdriver with maximum torque from the very first step can deform mechanical joints or strip the pre-drilled wood holes, causing the overall structure to twist and lose geometric balance.
-
Not checking floor flatness before placing the desk: Concrete or carpeted office floors always have local elevation differences. Skipping the leveling adjustment of the leg leveling feet will cause wobbling when employees type, reducing deep concentration.
-
Overlooking cable routing and office equipment placement: Failing to plan the technical cable routing in advance causes computer power cables and printer cables to be pinched under the desk edge, both visually unappealing and carrying potential risks of office electrical short circuits.
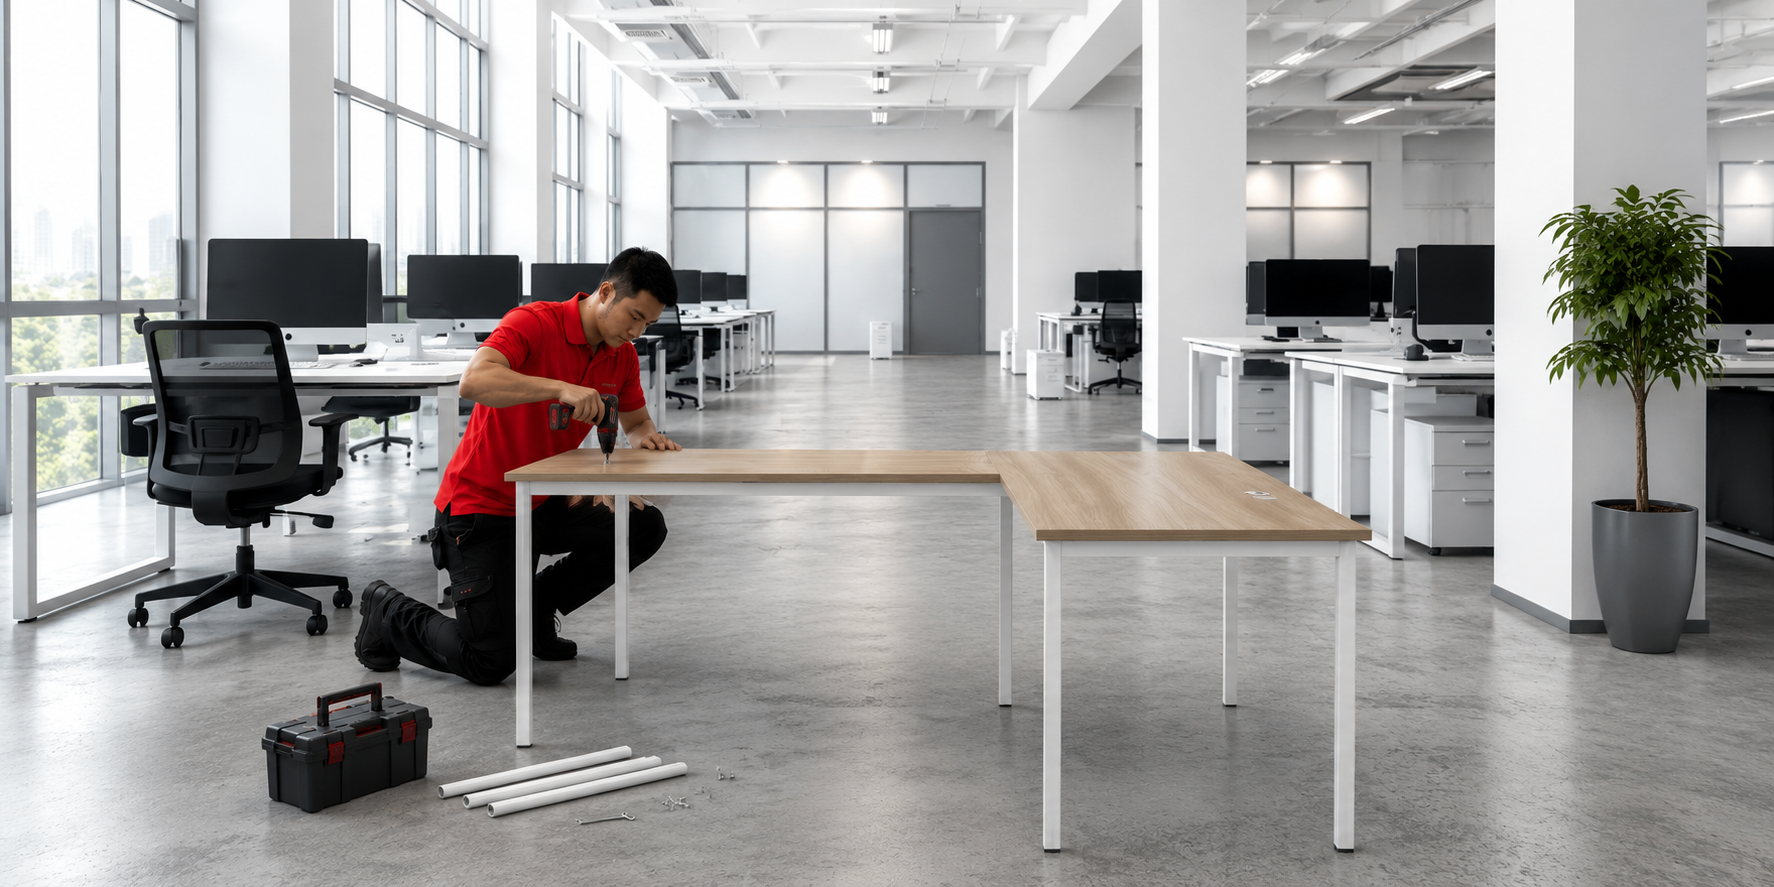
Custom-designed L-shaped work desk solutions at The Mia
The Mia brand offers comprehensive tailor-made space solutions, providing maximum support for enterprises to optimize infrastructure resources:
-
Consult on desk dimensions according to actual floor space: The technical expert team conducts on-site measurements to specify standard ergonomic parameters such as W1400/1200mm or W1600/1200mm with H750mm height, ensuring an absolute fit with the existing building conditions.
-
Design the L-shape orientation suitable for usage habits: Precisely plan the auxiliary curved wing based on departmental workflow behaviors: allocate the opening angle for Accounting for storage, or a panoramic view for Department Heads and Middle Managers.
-
Choose materials, colors and textures according to office style: Customers proactively select the shade of 25mm thick scratch-resistant Melamine-coated MFC wood (light wood grain, cement gray, white) combined with high-grade electrostatic powder-coated steel leg frames, turning furniture into an effective brand visual communication tool.
-
Provide detailed installation guidance for each desk model: The Mia offers a transparent system of 3D technical simulation drawings and dispatches a direct construction specialist team to support on-site, ensuring the handover process is accurate and fast.
-
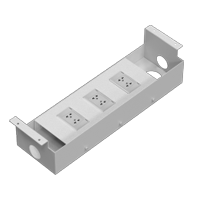
Coordinate the L-shaped desk with chairs, cabinets and office furniture systems: Create a consistent workspace ecosystem by combining L-shaped desks with high-end office mesh chairs, wall-mounted filing cabinet systems and smart under-desk aluminum power boxes, with a committed 2-year long-term warranty.
Conclusion
Mastering the correct technical way to assemble an L-shaped work desk is a strategic solution that helps enterprises preserve fixed asset durability, optimize ergonomic functionality and tightly control operating budgets. Contact our expert team today for an on-site survey and to receive a completely free comprehensive 2D/3D layout consultation from The Mia
Other news

- Business Registration Number: 0305955903, date of Issue: September 3, 2008
- Issued by: Department of Planning and Investment of Ho Chi Minh City
- Legal Representative: Nguyễn Thành Long

