


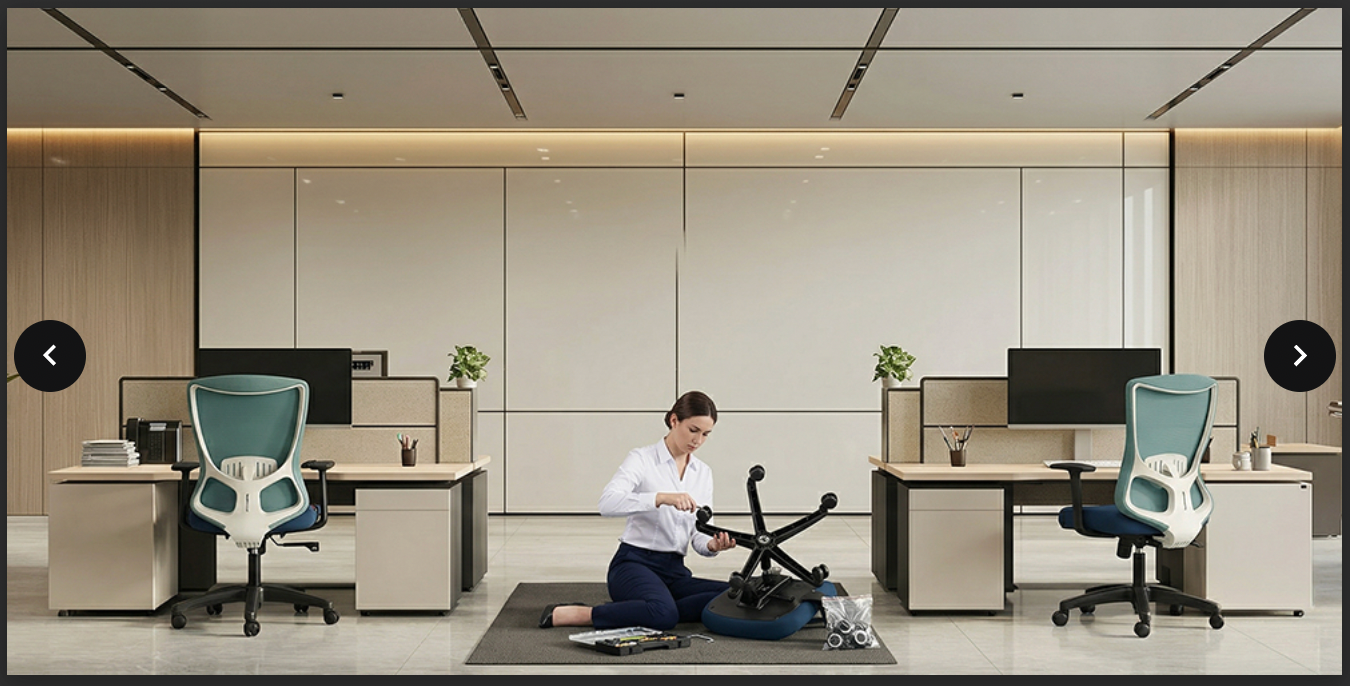
How to Assemble an Office Chair Correctly at Home in Just 10 Minutes
In the modern working environment, office chairs are one of the most important pieces of office furniture, directly affecting the comfort, work performance, and health of users. However, most current chair models are designed as disassembled component packages to optimize shipping costs and facilitate delivery. Therefore, self-assembling chairs at home or in the office has become a common need. The article below will guide you in detail on how to assemble an office chair simply and easily, helping you take the initiative in assembling correctly, saving time, and using the chair more effectively in your daily work. Let's explore with The Mia!
Why is it necessary to assemble an office chair correctly from the start?
In the investment strategy for office furniture, proper installation not only ensures functionality but also optimizes the long-term exploitation value of the product. This is the foundational step that helps businesses control operating costs and maintain stable usage performance.
-
Directly affects sitting stability: When the chair is assembled correctly, the load-bearing points are evenly distributed, helping users maintain a proper posture and minimizing wobbling during use.
-
Impact on the gas lift cylinder and seat plate: Correct installation helps the lifting/lowering system and recline mechanism operate smoothly, avoiding jamming and reducing component lifespan.
-
Risk of frame misalignment if assembled incorrectly: Mistakes during assembly can unbalance the chair's structure, reducing safety and directly affecting the user experience.
-
Increases chair lifespan by several years: When components are assembled correctly from the start, the product will operate more stably, minimizing wear and significantly extending its service life.

Basic structure of an office chair before assembly
Understanding the structure is an important step that helps the office chair assembly process take place accurately and minimizes technical errors. Knowing each part well also helps optimize usage performance and extend product lifespan.
Base frame and casters
-
5-star base: This is the main load-bearing part of the chair, designed with 5 arms to distribute weight evenly, increasing stability during use.
-
Swivel casters: The caster system supports easy movement with 360-degree swivel capability, optimizing flexibility in the modern working environment.
Gas lift cylinder
-
Height adjustment mechanism: The gas lift cylinder plays the role of adjusting the chair height to suit the user's posture, ensuring comfort and proper ergonomics.
-
Note when installing the gas cylinder: Install in the correct direction and avoid applying strong force to avoid affecting the internal structure of the gas lift cylinder.
Seat plate and adjustment lever
-
Height adjustment and recline mechanism: The seat plate is the central part connecting the seat cushion and the gas lift cylinder, simultaneously controlling the height adjustment and recline functions.
-
Correct installation direction: The lever must be installed in the right direction to ensure convenient operation and accurate mechanism function during use.
Seat cushion and backrest
-
Differentiating between one-piece and separate chairs: Depending on the product design, the cushion and back may be attached or separate, which directly affects the assembly method.
-
Precise screw hole positions: The screw hole positions need to be identified correctly to ensure sturdiness and avoid frame misalignment during long-term use.

Preparation before assembling the office chair
Before starting the office chair assembly process, thorough preparation helps the operations go quickly and minimizes technical errors. This is also an important step to ensure the chair achieves stability and safety after assembly.
Check all components
Checking components before assembly helps ensure no important parts are missing, which would affect the overall structure of the office chair. You need to compare all components such as the base, casters, gas lift cylinder, seat plate, seat cushion, backrest, and the included screw set. If missing or defective components are found, handle them immediately to avoid disrupting the assembly process and ensure long-term usage quality.
Prepare tools
Preparing adequate tools helps the installation process go smoothly and saves significant operation time. Basic tools include a screwdriver, wrench, or hex key depending on the product design, usually provided by the manufacturer. Using the correct tools for office chair assembly also helps tighten screws accurately, avoiding stripped threads or damage to the chair's connection structure.
Choose the assembly location
Choosing a suitable assembly location makes operations convenient and ensures safety throughout the process. Choose a flat, spacious surface to easily arrange components and minimize collisions during assembly. A well-lit and ventilated space also helps observe details accurately, thereby improving efficiency and precision during installation.
Step 1: Install casters into the chair base
-
How to press correctly: Place the caster into the correct hole on the base, then use hand force to press firmly and decisively so the caster fits completely.
-
Check tightness: After installation, check each caster by pulling gently to ensure the casters are not loose or pop out when moving.
Step 2: Install the gas lift cylinder into the chair base
-
Place in the correct direction: Place the large end of the gas lift cylinder into the base and ensure the cylinder is placed vertically to maintain balance during use.
-
Do not use a hammer to strike hard: Avoid applying strong force to the cylinder as it may damage the internal mechanism; simply placing it correctly is sufficient.
Step 3: Secure the seat plate to the seat cushion
-
Align the front/back direction correctly: Position the seat plate correctly with the lever facing the front to ensure convenient adjustment.
-
Tighten screws in a crisscross pattern to balance force: Tighten screws in a crisscross order to distribute force evenly, ensuring the seat plate is firmly fixed and not misaligned.
Step 4: Attach the backrest to the seat cushion
-
Securely fix the back frame: Attach the backrest to the correct position on the seat cushion, then tighten the screws to ensure a solid connection.
-
Check axis alignment: Observe the overall structure to ensure the backrest is aligned with the seat cushion, avoiding misalignment that causes imbalance during use.
Step 5: Place the chair body onto the gas lift cylinder
-
Center correctly: Gently place the seat plate onto the gas lift cylinder head so that it is centered to ensure accurate connection.
-
Sit on it to secure the joint: After placing, sit gently on the chair to allow the joints to self-secure and connect more firmly.
Step 6: Check and retighten all screws
-
Ensure no loose points: Recheck all screw positions and tighten if necessary to avoid looseness during use.
-
Test lifting/lowering and recline: Try the chair's functions to ensure the system operates smoothly, without jamming or unusual noises.

>>> See more:
-
How to adjust your office chair correctly for comfortable and effective sitting
-
How to clean your office chair properly for long-lasting and effective use
How to check the office chair after complete assembly
After completing the office chair assembly process, a thorough check is an important step to ensure stable operation and safety during use. This helps detect technical errors early and make timely adjustments before long-term use.
-
Check balance: Sit on the chair and observe the overall structure to ensure the chair is not tilted, all legs contact the floor evenly, and it remains stable.
-
Test height adjustment function: Use the lever to adjust the chair height, checking that lifting/lowering is smooth without jamming or air leakage during use.
-
Check recline and back lock: Test the recline function and position lock to ensure the mechanism works correctly and holds the recline angle stable when leaning back.
-
Ensure no unusual noises from the chair: During test use, listen carefully to detect any strange noises from the joints and handle them promptly if present.
Buy genuine office chairs with installation support at The Mia
In a context where businesses are increasingly focusing on furniture investment towards cost optimization and usage efficiency, choosing a reputable supplier is a strategic factor. The Mia is an office furniture brand under the Rong Phuong Bac ecosystem, providing comprehensive solutions from product to installation for many businesses in Vietnam.
-
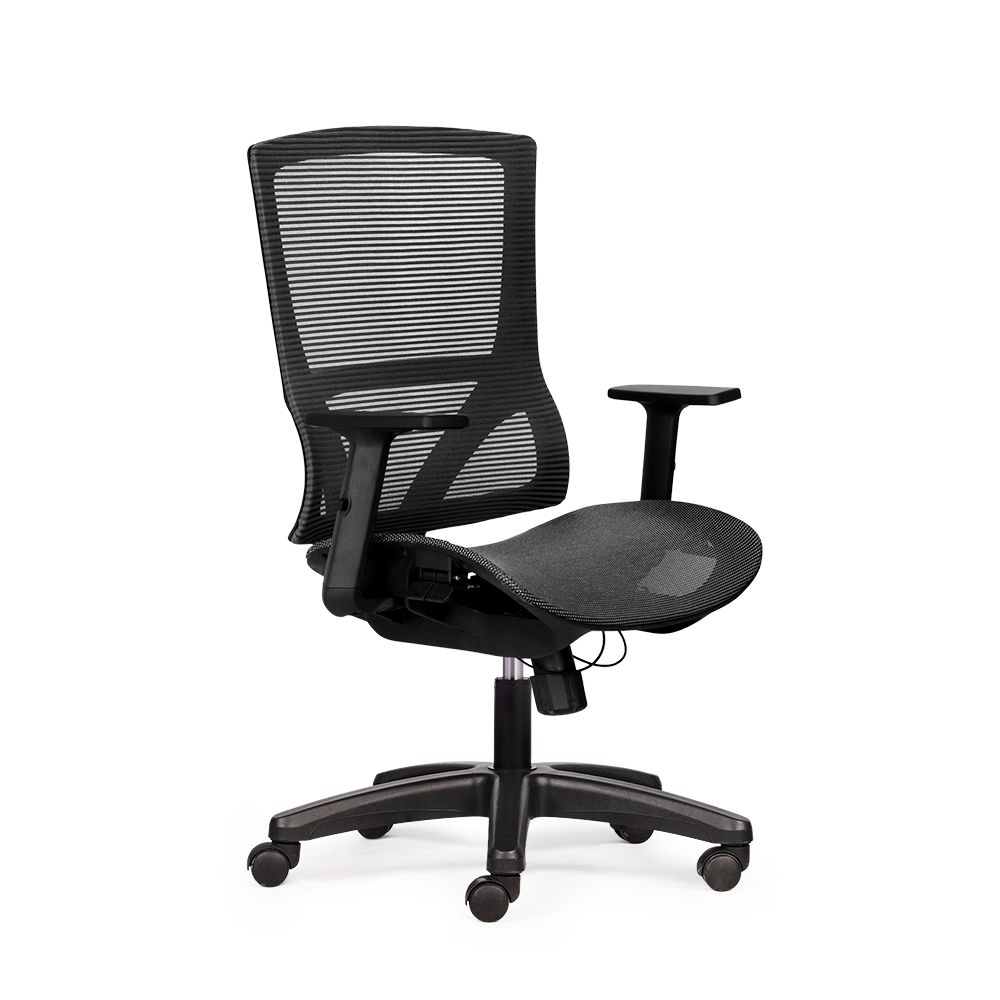
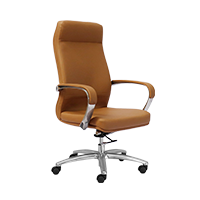
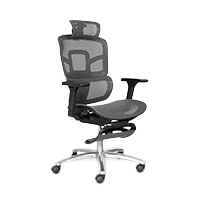
The Mia offers a wide range of office chairs, from task chairs to ergonomic chairs, with modern design and optimized functionality.
-
Products are developed according to high-quality standards, focusing on ergonomic factors to improve sitting posture and enhance work performance.
-
Besides products, The Mia also provides delivery and on-site installation services, ensuring correct technique, saving customers time, and minimizing risks of self-assembly.
-
Clear warranty policies and an extensive distribution network help customers easily access genuine products and receive prompt support when needed.
Choosing The Mia is not just buying a chair; it is a sustainable furniture investment solution that helps businesses optimize costs and improve long-term work experiences.
Conclusion
Proper office chair assembly technique not only ensures safety but also extends lifespan and optimizes long-term usage performance. When following the correct process, you will minimize arising errors and save repair costs. Don't miss the detailed step-by-step guide from The Mia to achieve the best results. Apply today to assemble correctly and use durably.
Other news

- Business Registration Number: 0305955903, date of Issue: September 3, 2008
- Issued by: Department of Planning and Investment of Ho Chi Minh City
- Legal Representative: Nguyễn Thành Long

